
What are Triggers?
Before diving into the creation process, let’s understand what triggers are. Triggers define the events and data that your application will send to Embed Workflow. By configuring triggers in advance, you’re establishing what information will be available to your users when they create their workflows. Think of triggers as a contract between your application and Embed Workflow – they define what data your application promises to send when specific events occur.
Step-by-Step Guide
1. Access the Trigger Builder
To create a new trigger:
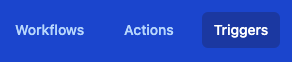
- Log into Embed Workflow
- Click ‘Triggers’ in the top menu
- Click the ‘New Trigger’ button

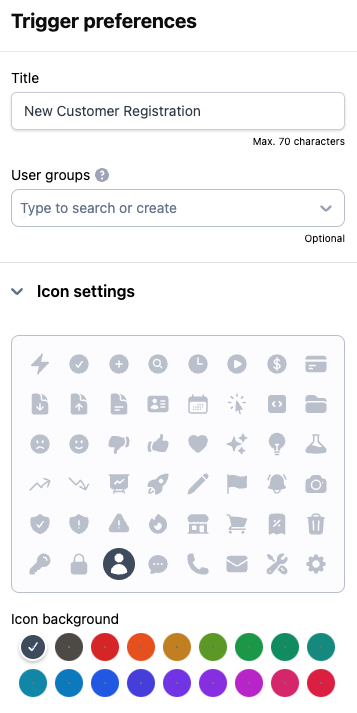
2. Configure Basic Settings
Once in the trigger builder:
- Name your trigger (e.g., “New Customer Registration”)
- Select an appropriate icon to represent your trigger
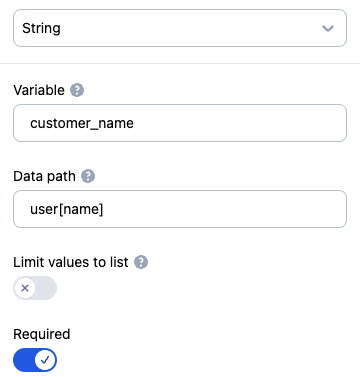
3. Define Data Inputs
This is where you specify what data your application will send to Embed Workflow. Click “Add New” to create data inputs.
Let’s create three different types of data inputs to showcase the available options:
a. String Type
- Click “Add New”
- Select type: String
- Variable name: customer_name
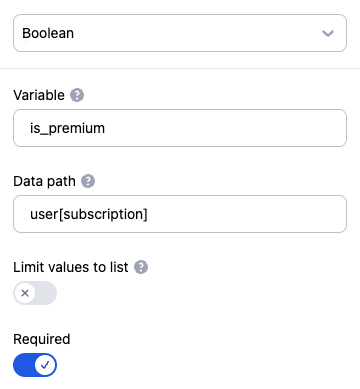
b. Boolean Type
- Click “Add New”
- Select type: Boolean
- Variable name: is_premium
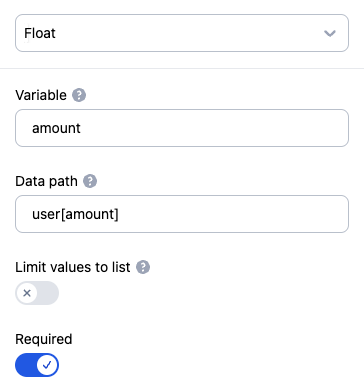
c. Float Type
- Click “Add New”
- Select type: Float
- Variable name: amount
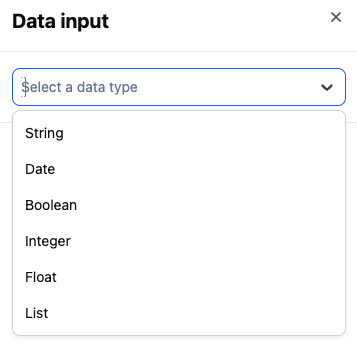
Available Data Types
When creating data inputs, you can choose from these types:
- String: For text data
- Date: For dates
- Boolean: For true/false values
- Integer: For whole numbers
- Float: For decimal numbers
Activate the Trigger
Once you’ve defined all your data inputs:
- Click the “Publish” button
- Confirm the publication in the dialog
What’s Next?
After creating and activating your trigger, it’s ready to receive events from your application. Your users can now use this trigger as a starting point for their workflows. When your application sends data to this trigger, it should match the structure you defined with the data inputs.
Example API Call
Here’s how the data structure should look when your application calls this trigger:
{
  "customer_name": "John Doe",
  "is_premium": true,
  "amount": 99.99
}
Tips
- Keep your trigger names clear and descriptive
- Only add data inputs that your users will need in their workflows
- Make sure the variable names match exactly what your application will send
- Test your trigger with sample data before making it available to users

Ricardo Valdivieso is a Workflow Specialist at Embed Workflow with years of experience advising enterprises on automation strategy and implementation. He’s worked across tools like Zapier, Make, and Workato, as well as custom-built systems, giving him practical insight into what succeeds in real-world deployments.
At Embed Workflow, he applies this expertise to help SaaS companies deliver powerful, user-friendly automation to their customers.